43 how to make labels on cricut air 2
How to Make Craft Room Labels with a Cricut How to Make Craft Room Labels with a Cricut Video Tutorial. I made my labels with black Cricut Vinyl and the "Breather" font. I just love having all the boxes and containers labelled, it makes it so much easier to find everything! The Cricut Machine makes it super easy to create these labels so quickly and the labels look so professional! DIY Custom Water Bottle Labels with Cricut Print then Cut. Cricut machine [Explore Air or Maker] Any color printer {If you do not have a printer, you can send to print and return to cut with your Cricut machine} Cutting mat [ blue or green] Tape measure to measure the water bottles Waterproof glossy sticker paper Matte sticker paper Photo paper 30 or 32Lb .
How to Use Cricut Flatten to Make Foil Address Labels On a new canvas in Cricut Design Space add a new shape. Click on Square and turn off the size lock. Change the size to 1 inch high by 2.625 inches long (standard return address label size). Then change the color to white. Insert a text box and type in your address. (This is not my actual address, lol!)

How to make labels on cricut air 2
How to Make Stickers with Cricut + 4 Ways to Waterproof Them! Locate the files for this project. First I am going to select and upload the "evergreen-wreath-jennifermaker-PNG.png" file from the Christmas folder. When you see the image, choose "Complex" and then click "Continue.". Click "Apply & Continue.". Select "Print Then Cut Image" and then click "Upload.". Must-Have Beginner Cricut Tools & Supplies for your Cricut Machine Must-Have Materials for your Cricut Machine. The Explore Air 2 and Maker can cut over 100+ materials, but chances are the most common materials you'll be cutting are vinyl, cardstock, felt, or stickers. Iron-On - Iron-On vinyl is the kind of vinyl you'll use to make shirts. You'll need an EasyPress to apply the vinyl to your shirts. Print Then Cut: DIY Baby Closet Dividers with the Cricut Explore Air 2 Here's what you need to make your own DIY Nursery Closet Dividers…. 4 pieces of white 80 lb. cardstock. 1 piece of paper. LightGrip mat (the blue one) Cricut spatula (comes in the Cricut basic tools set) Cricut access. Cricut machine ( Explore Air 2 or Maker) Printer.
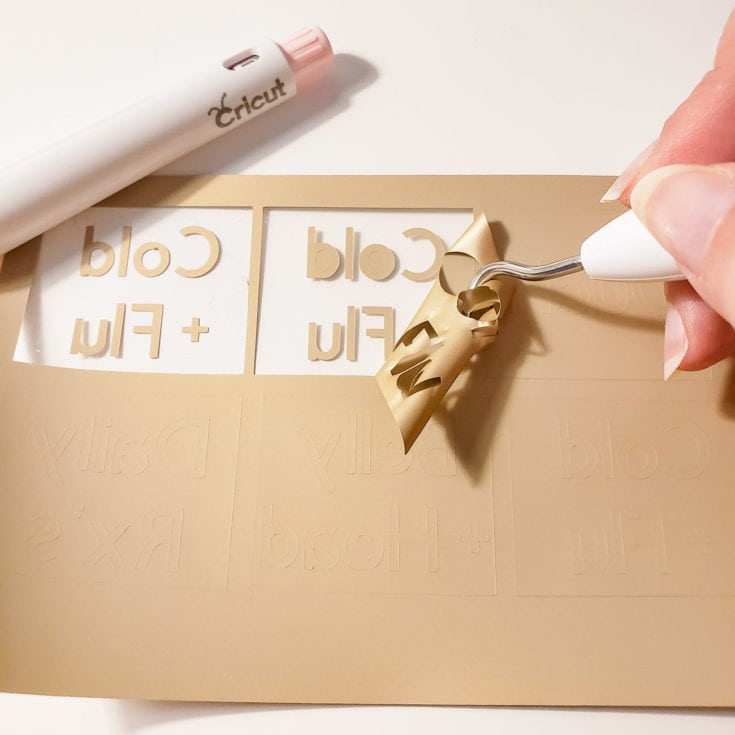
How to make labels on cricut air 2. How to Make Stickers with your Cricut +Free Sticker Layout Templates Step by Step Tutorial / Make Stickers with your Cricut Materials Creating a Methodology Step 1 - Create a Sticker Sheet Layout Step 2 - Add Colors and Patterns Add a Solid Color to your Stickers Adding Patterns to Cricut Stickers Step 3 - Add Text and Images Step 4 - Check Size and Flatten Step 5 - Print and Cut your Cricut Stickers 3 ways to make labels for organizing with cricut First of all, measure the place where you want to put the label to get the exact size. Go to cricut design space and insert a square, and in the size settings put the exact number of the size to create the label. Then select the text, then go to the font and select the filters option; it's in the top right corner of the font setting box. How to Make Pantry Labels with Cricut I used my scissors to cut apart the individual words and my hooked weeding tool to pull the background vinyl off of each. Next, I cut a 2.5″ X1.25″ section of transfer tape, peeled the backing, and applied it to the top of my first vinyl word. Then, I peeled the backing off of my white vinyl. How to Make Stickers With Cricut - Let's Craft Instead The process for making stickers in Cricut's design space is the same no matter what printer you have. Step 1: Put your design onto a blank canvas in Design Space You can use clip art, things from Design Space, your own files you uploaded, and even photos.
Writing With Your Cricut Explore Air 2 - No Bubble Letters To begin writing with your Cricut, type out the words that you want on your envelope using your desired font. The font I used was Mikelis Light from Dafont.com. Make sure that your linetype for your font is set to "Draw.". Create a rectangle the same size as your envelope and position your text where you want it to be on your envelope. How to Make Stickers with a Cricut Explore or Maker This way, we will be able to fit as many stickers as we can. To add the rectangle, click on "Shapes" in the left-hand column. Then click on "Square" and adjust the dimensions (just like we did in the last step) to 6.75" wide and 9.25" tall. You'll need to click the lock to unlock the dimensions so you can manually adjust both. How to make stickers with your Cricut Explore - Creative Fabrica Printing your stickers. Upload the images you are wanting to use for your stickers into Cricut Design Space. Choose the print then cut option. Remember that Cricut's maximum image size for their print then cut feature is 9.25×6.75. So if you are doing multiple stickers, they all have to fit into this size. How to make labels with Cricut Make labels with Cricut Step 1 To design from scratch, click "New Project" on the home page of Cricut Design Space. Step 2 Once on the canvas, on the left-hand navigation bar, you'll see an option for "Images." Step 3 Click that button. You'll now be able to search in the Cricut image library!
How to Use Cricut Markers and Pens (with Project Ideas) Open up Cricut Design Space and draw out the format of the material you want to write on. Choose whether you want to cut it OR in my instance, I just wanted to see where it was going to write. 2. In the top menu, choose the "Filter" button and choose writing. How to Make Stickers Using Cricut Explore Air 2 - SugaBaby Co Cricut Explore Air 2 Sticker Paper Color Printer Light Grip Mat Step 1 Upload your image from external source via PNG file or create an image in Cricut design space. (We love to choose images included with the Cricut subscription) Select the chosen image and add an OFFSET (found in the upper tool bar of design space). Online Labels® Sticker Paper Cut Settings for Cricut Explore Air Our expert crafters have hand-tested the Cricut Explore Air™ with OnlineLabels sticker paper to bring you the exact cut settings for each material. Continue to the chart below to find the cut settings for kiss cut and full cut stickers. Materials were tested on a Cricut Explore Air with the fine-point blade. How to Make DIY Iron On Labels - Abby Organizes 1. Gather your supplies. ( Note: I used my Cricut Explore cutting machine and EasyPress heat press to help make the process go faster. HOWEVER, you can make these labels even without these extra machines. If you have an ink jet printer, a pair of scissors, and an iron, you will be good to go.
Pin by Bridget Ogden on Cricut Machine | Cricut design, Cricut tutorials, Cricut projects vinyl
How to make vinyl stickers with Cricut Scissors Make vinyl stickers Step 1 Click on the text box that says "name." Another box should open. Click into that field and type your name. Center the text back on the polka dot design. If your notebook or journal isn't 5" x 7" use the resize arrow on the bottom right of the images to adjust! Step 2
35 Inspiring Projects by Cricut Makers - Lydi Out Loud
Make & Address Envelopes with Cricut - Free SVG Templates Cricut has charming writing fonts that you can use for your projects. To change the font, select one paragraph at the time and click on "Font" (top panel). A big window will slide open with the different types of fonts Cricut had. Click on "Filter" (upper-right corner of the window) and select writing. I picked the font "Giraffe" for this example.

How To Make Sticker Labels With Cricut Explore Air 2 - QSTICKE
Perfectly Written Wedding Place Cards with Cricut Explore Air! Sending Your File to the Cricut Once your file is ready, click GO and print your place cards. Then place the printed page onto a cutting mat and insert it into your Cricut Explore Air. First print, then cut. Make sure your scoring stylus is in, and click the GO button on your machine. Your machine will cut and score your place cards.

Pin by Rae Summers Birts on Christmas DIY project using my Cricut Explore Air 2 | Christmas ...
How to Make Vinyl Labels with a Cricut Cutting Machine Step 1- Gather your supplies for making vinyl labels. Cricut Explore Air 2 Cutting Mat Cricut Premium Vinyl (I used teal.) Weeder and Scraper Tools Transfer Tape Label Project in Cricut Design Space Step 2- Create your design. If you are using a Cricut machine, you can find my exact project in Cricut Design Space here.

Pin on Cricut Explore Air 2
How To Make Labels With A Cricut Joy - Step By Step Guide Use a tape measure on the item you are labelling, to work out how wide and tall you want the label to be. You'll need this information when you create the design in step #5. We wrote down the dimensions for everything and then got the Cricut and my laptop out…. Step 3: Choose The Right Vinyl For The Project

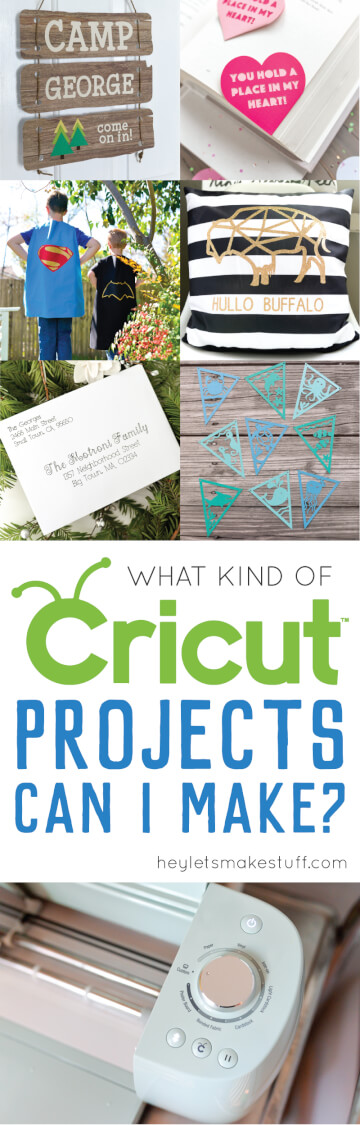
45+ What can i make with cricut explore air 2 inspirations | This is Edit
How to Make Stickers on a Cricut - Jennifer Maker We are going to use four kinds: Plain white sticker paper, clear vinyl sticker sheets, white vinyl sticker sheets and Cricut Printable Vinyl. We will also use a roll of transparent vinyl to laminate some of our stickers.

Pin on CRICUT EXPLORE AIR 2
Engraving Metal with Cricut Explore Air 2 (or Cricut Maker) Adding Metal Blanks to the Cricut Mat Add StrongGrip transfer tape to the StrongGrip mat. Put the transfer tape grid-side down onto the mat. You want to make sure it's down really, really well on the mat. I like to use something like my brayer to go over it and make sure it's down really well.
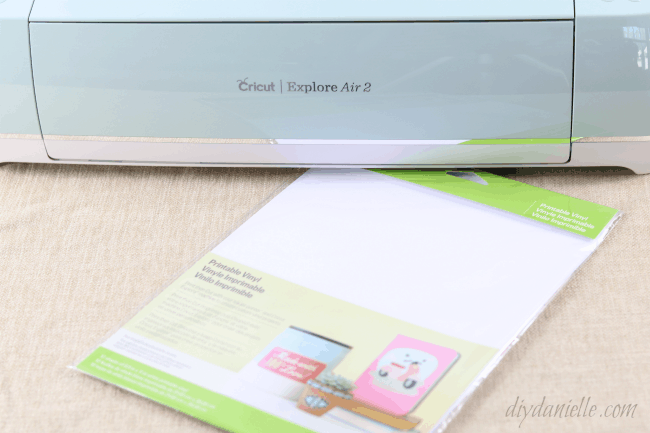
Printable vinyl for the Cricut Air 2
How to make back neck labels for your t-shirts using the cricut explore ... In this video I show you how easy it is to make your own labels for your t-shirts to make your clothing brand stand out and look more professional. Using cricut explorer, vinyl, and heat press needed. personal IG BUY CRICUT EXPLORE AIR 2 BUY VINYL BUY HEAT PRESS See also How To Get Canva Pro miễn phí | New 100% Working Method
10 Fun Projects to Make with Your Cricut Explore Air 2 - 100 Directions
How To Use Cricut Explore Air 2: Tutorials, Tips and Tricks (2021 ... Turn on your Cricut Explore Air 2 machine Open your Control Panel/System Configure and confirm Bluetooth is on. Your machine should show up in your menu as an option, click connect It should have connected! If you need a pin, that's 0000. Here's a video that will walk you through Bluetooth setup as well!

Make labels for your Essential Oil DIY's with the Cricut Explore Air | Cricut explore air ...
Print Then Cut: DIY Baby Closet Dividers with the Cricut Explore Air 2 Here's what you need to make your own DIY Nursery Closet Dividers…. 4 pieces of white 80 lb. cardstock. 1 piece of paper. LightGrip mat (the blue one) Cricut spatula (comes in the Cricut basic tools set) Cricut access. Cricut machine ( Explore Air 2 or Maker) Printer.

Faux Leather Archives | The Nomad Studio
Must-Have Beginner Cricut Tools & Supplies for your Cricut Machine Must-Have Materials for your Cricut Machine. The Explore Air 2 and Maker can cut over 100+ materials, but chances are the most common materials you'll be cutting are vinyl, cardstock, felt, or stickers. Iron-On - Iron-On vinyl is the kind of vinyl you'll use to make shirts. You'll need an EasyPress to apply the vinyl to your shirts.
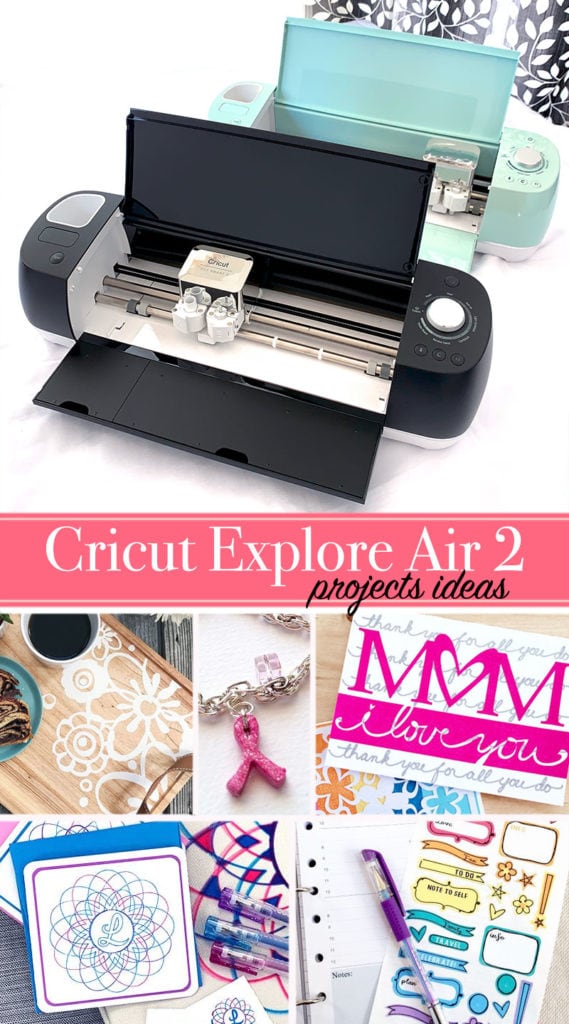
What Kind of Cricut Explore Projects Can I Make? - Hey, Let's Make Stuff
How to Make Stickers with Cricut + 4 Ways to Waterproof Them! Locate the files for this project. First I am going to select and upload the "evergreen-wreath-jennifermaker-PNG.png" file from the Christmas folder. When you see the image, choose "Complex" and then click "Continue.". Click "Apply & Continue.". Select "Print Then Cut Image" and then click "Upload.".

How To Make Custom Chip Bags With Cricut
DIY Labels for Home Organization with the Cricut EasyPress Mini - Polished Habitat

Pin on All About the Cricut Explore Air 2 (Family)

Real Girl's Realm: How to Make Faux Leather Earrings With Cricut

Pin on Cricut Maker

Pin on Plotter
Post a Comment for "43 how to make labels on cricut air 2"